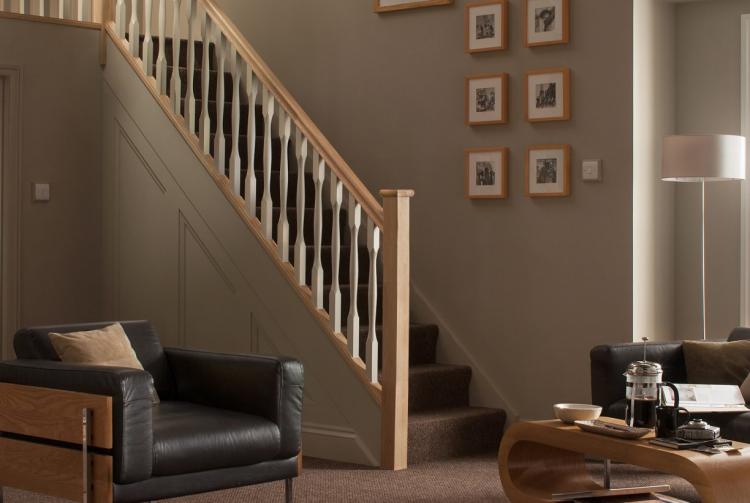
For those unfamiliar with the term, a newel post is a large, supporting post used in the construction of staircases and decks. Over time, due to natural wear and tear, these posts can become wobbly or loose, posing a risk to both the safety and aesthetic appeal of your home. Fortunately, fixing a wobbly newel post is not as daunting a task as it may seem. This article provides a simple, step-by-step guide to help you restore your newel post to its former sturdiness.
Tools and Materials Required
Before we delve into the procedure, let's gather the essential tools and materials:
- Screwdriver or Drill
- Wood screws
- Construction adhesive
- Wood shims
- Sandpaper
- Paint or wood stain (matching the original)
Note: Ensure you're using high-quality, sturdy screws designed for heavy-duty tasks. The size of the screws will largely depend on the size and type of your newel post.
Step-by-Step Guide to Fixing a Wobbly Newel Post
Step 1: Inspection
Inspect the newel post thoroughly to identify the cause of the wobble. Sometimes, the looseness can simply be due to a loose screw or bolt that needs tightening. If that's the case, tighten them with a screwdriver and see if the wobble persists.
Step 2: Adding Wood Screws
If the post is still wobbly, you'll need to add more screws for additional support. Drill pilot holes at an angle into the newel post, ensuring they penetrate into the staircase or decking. Next, drive in the wood screws into these pilot holes. Be careful not to overtighten as this can cause the wood to split.
Step 3: Using Construction Adhesive
If the wobble persists, it's time to apply construction adhesive for more strength. Apply the adhesive into the gaps between the newel post and the stairs or deck. The adhesive helps to fill these gaps and, when dried, provides a solid bond between the post and its base.
Step 4: Using Wood Shims
For larger gaps, use wood shims along with the adhesive. Slide the shims into the gaps and tap them gently using a hammer until they're secure. Once the adhesive dries, cut off any protruding parts of the shim flush with the post.
Step 5: Sanding and Painting
After the adhesive has fully dried, use sandpaper to smooth any rough edges around the areas where you've applied adhesive or inserted shims. Finally, paint or stain the areas to match the rest of the post.
Conclusion
Restoring the stability of a wobbly newel post is quite a straightforward DIY task that you can accomplish with a few tools and some patience. However, if the newel post is severely damaged or if the wobble persists despite your best efforts, it may be time to call a professional carpenter or consider replacing the post. Remember, safety should always be the priority.
We hope you found this guide helpful, and that it encourages you to take up more DIY projects to maintain and enhance your home. Happy fixing!
